Tongariro Alpine Crossing is located in the Tongariro National Park of North Island, New Zealand. It is one of the most popular day hikes in the country because of the beautiful views it has of three active volcanoes and the unique blue lake. In addition, views from both the summer and winter are both so captivating it’s definitely worth going there at least once each season!
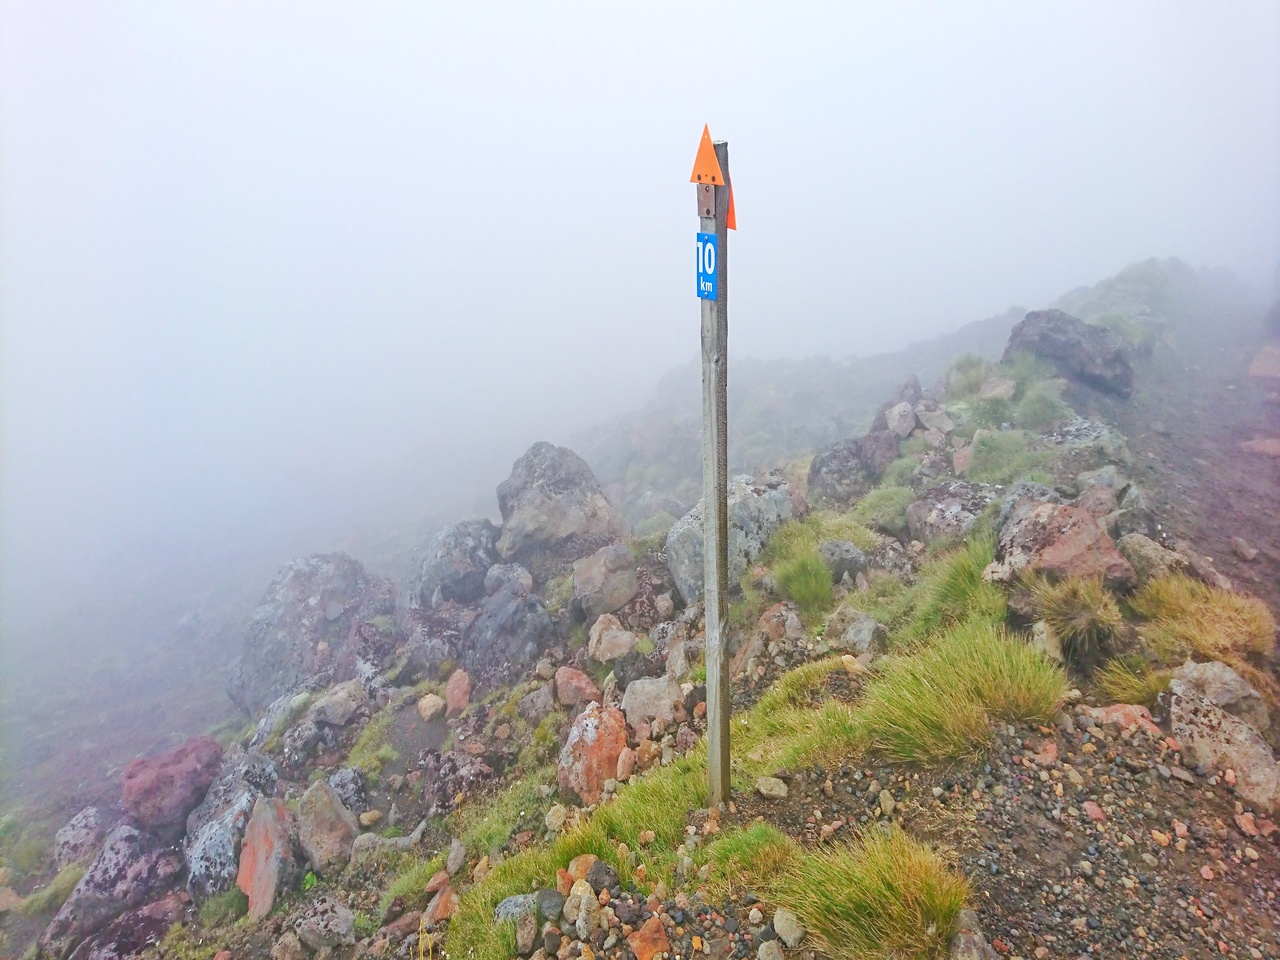
I hiked the Tongariro Alpine Crossing during summer in February and it was not at all close to the summer I’d imagined. It was a mixture of four seasons in a day, and an experience I’ll never forget. The weather in New Zealand is something you should never take lightly while travelling there. When the weather forecast says it’s windy, it’s REALLY windy, or when it’ll rain, it’ll REALLY rain. So trust it and always check the weather each morning before you leave for your day!
Anyway, back to my 8 hour journey across the Tongariro Alpine Crossing!
Rising before the Sun
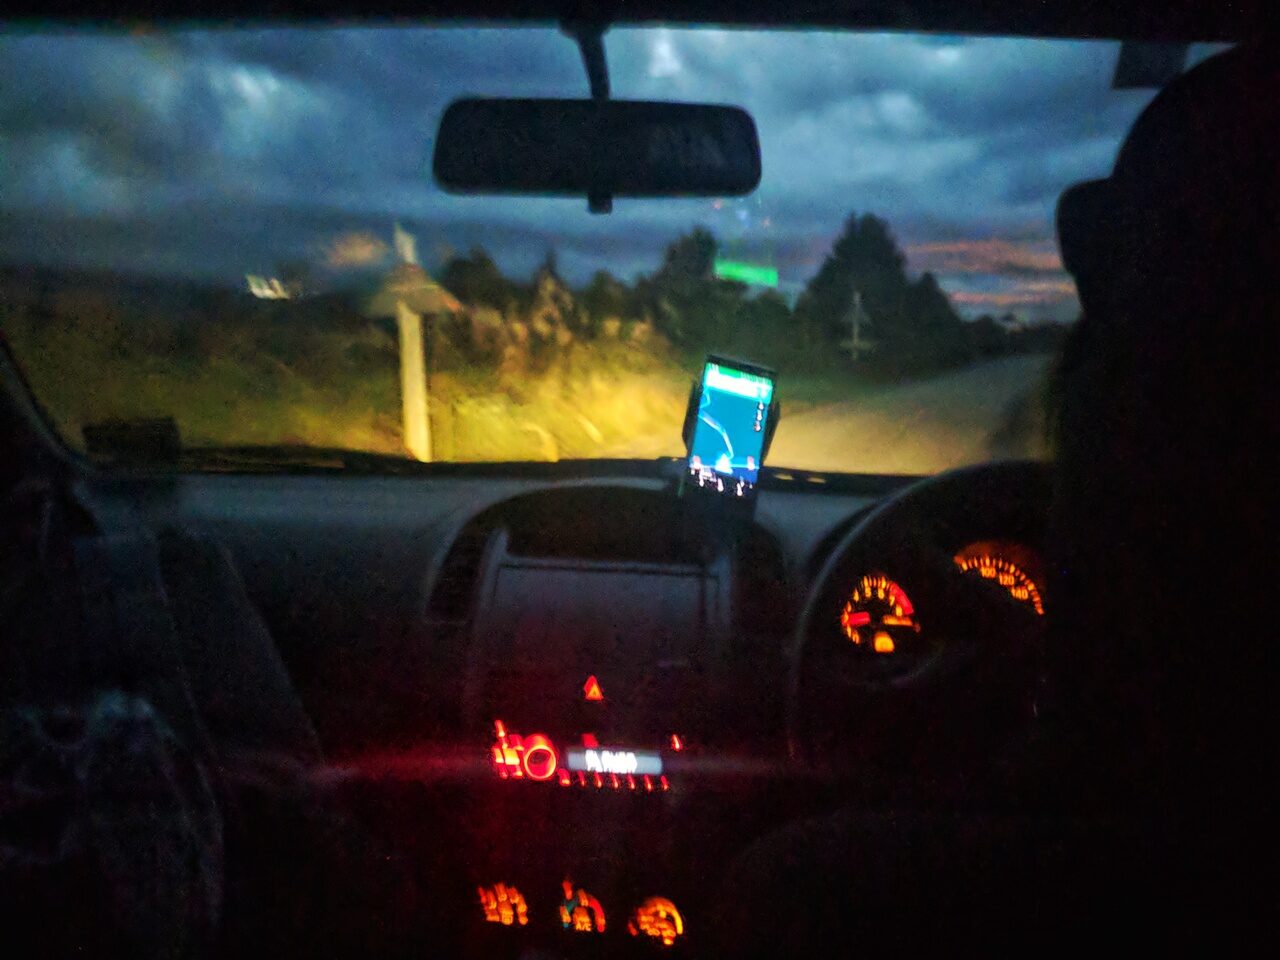
First step is to wake up really early, preferably before the sun rises. This is because you need to factor in time for:
- Travelling to the starting point, depending on how far your accommodation is
- Securing a space at the parking lot if you are driving since parking lots do get filled up quickly. I got to the parking area approximately 6.45am and it was filled already. Ended up parking at the road side that was dedicated to loads of other hikers too.
- Starting the hike early to avoid the crowd, especially if you’re going during the peak season
- Preparing and packing breakfast and lunch for your 8-hour long hike
Arriving at the starting point

After parking my car at the end point, I took the shuttle bus back to the starting point to meet my friends. The shuttle runs once every 15 minutes then, and so it was approximately 8am by the time we started. Weather was still cold at that point, at about six to eight degrees Celsius.
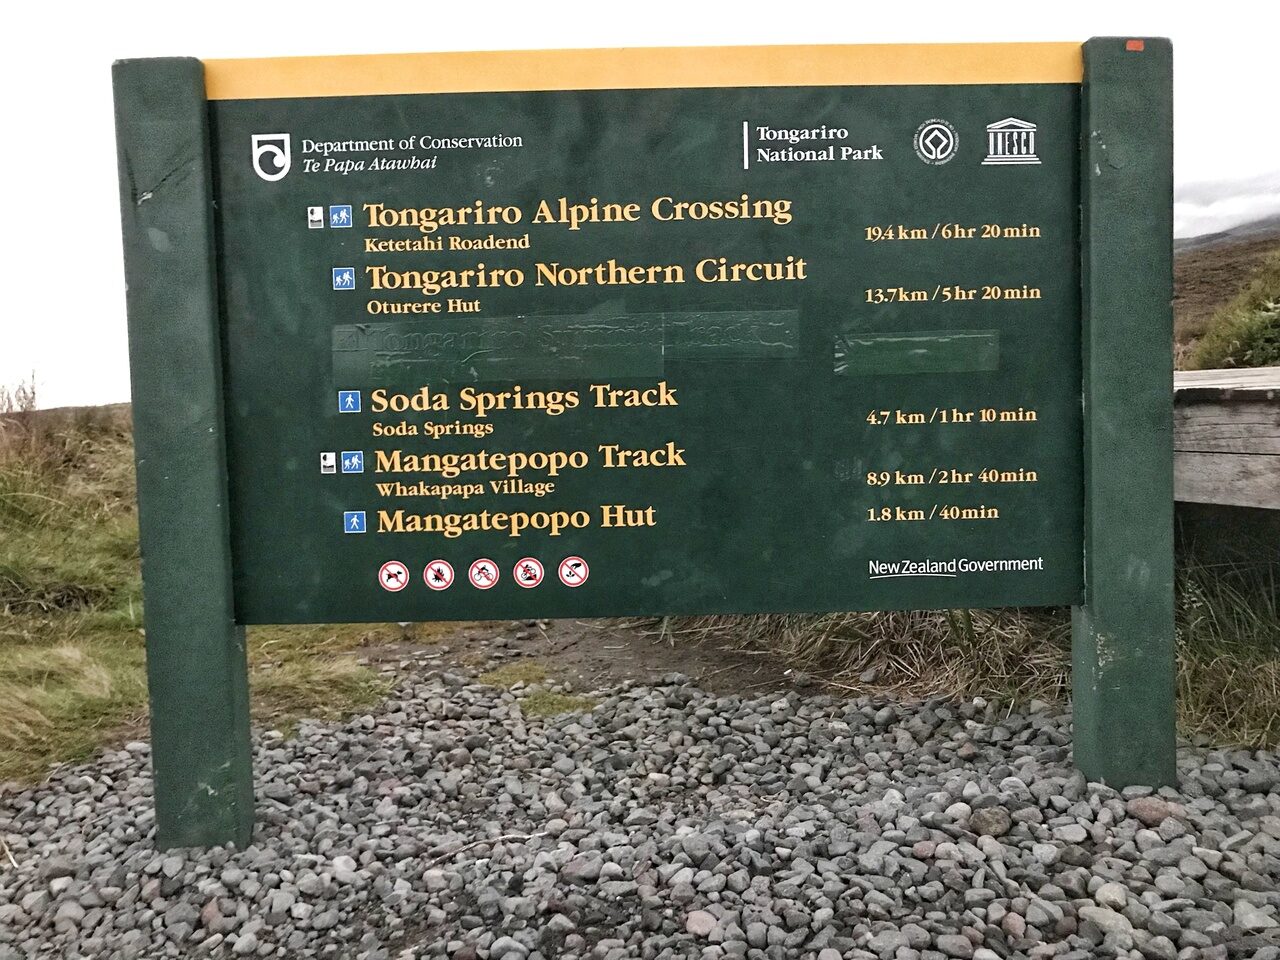
The Tongariro Alpine Crossing Track
The entire 19.4km journey for the Tongariro Alpine Crossing takes around 6 hours and 20 minutes per the Department of Conservation. However, it took us around 8 hours so make sure you factor in more time. It can be broken down into five main parts:
1. Mangatepopo Road end to Soda Springs
Difficulty Level: Easy
Time needed: 1 to 1.5 hours
Distance: ~ 4.5 km
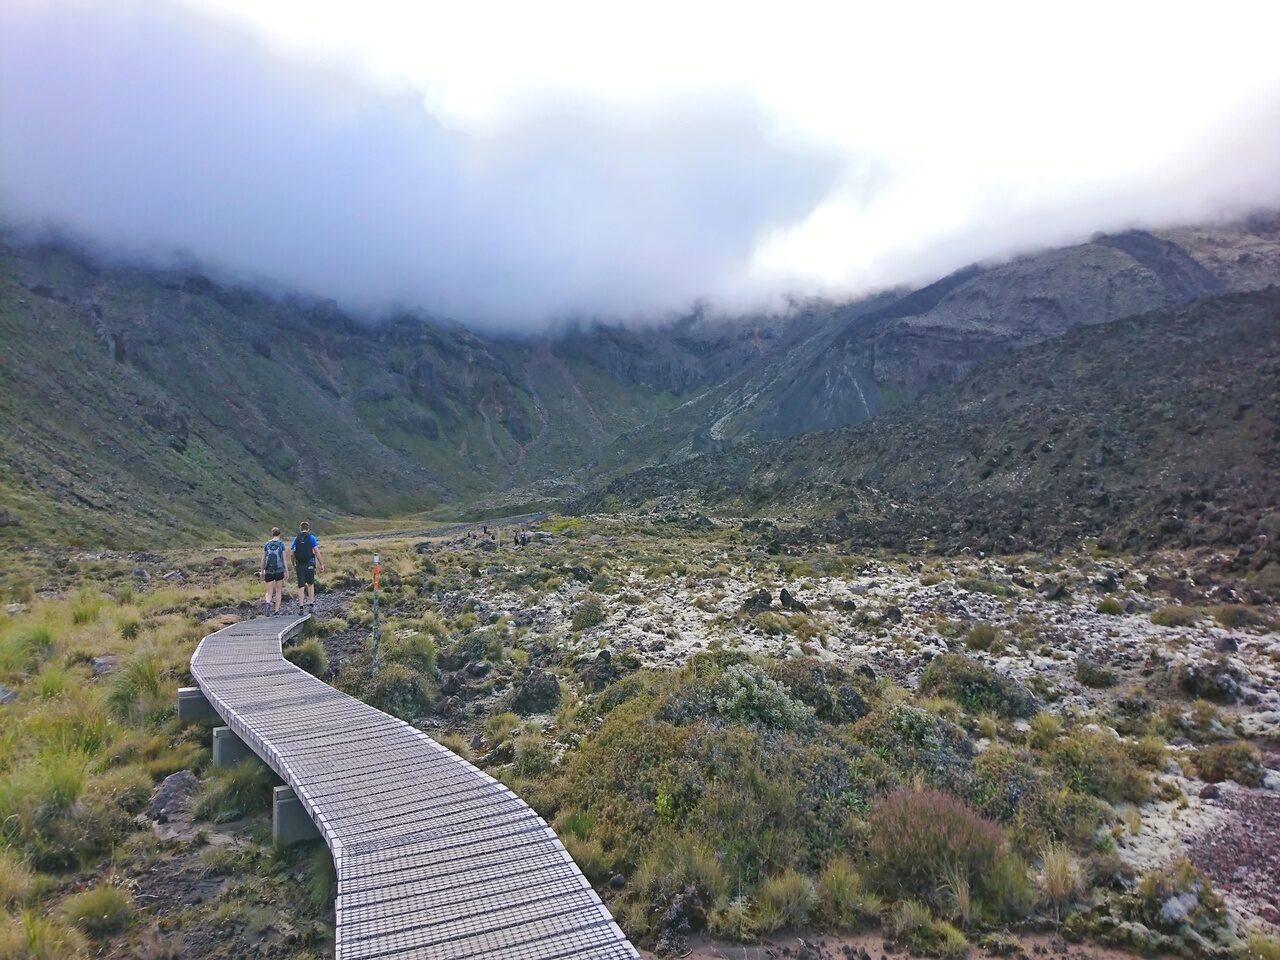

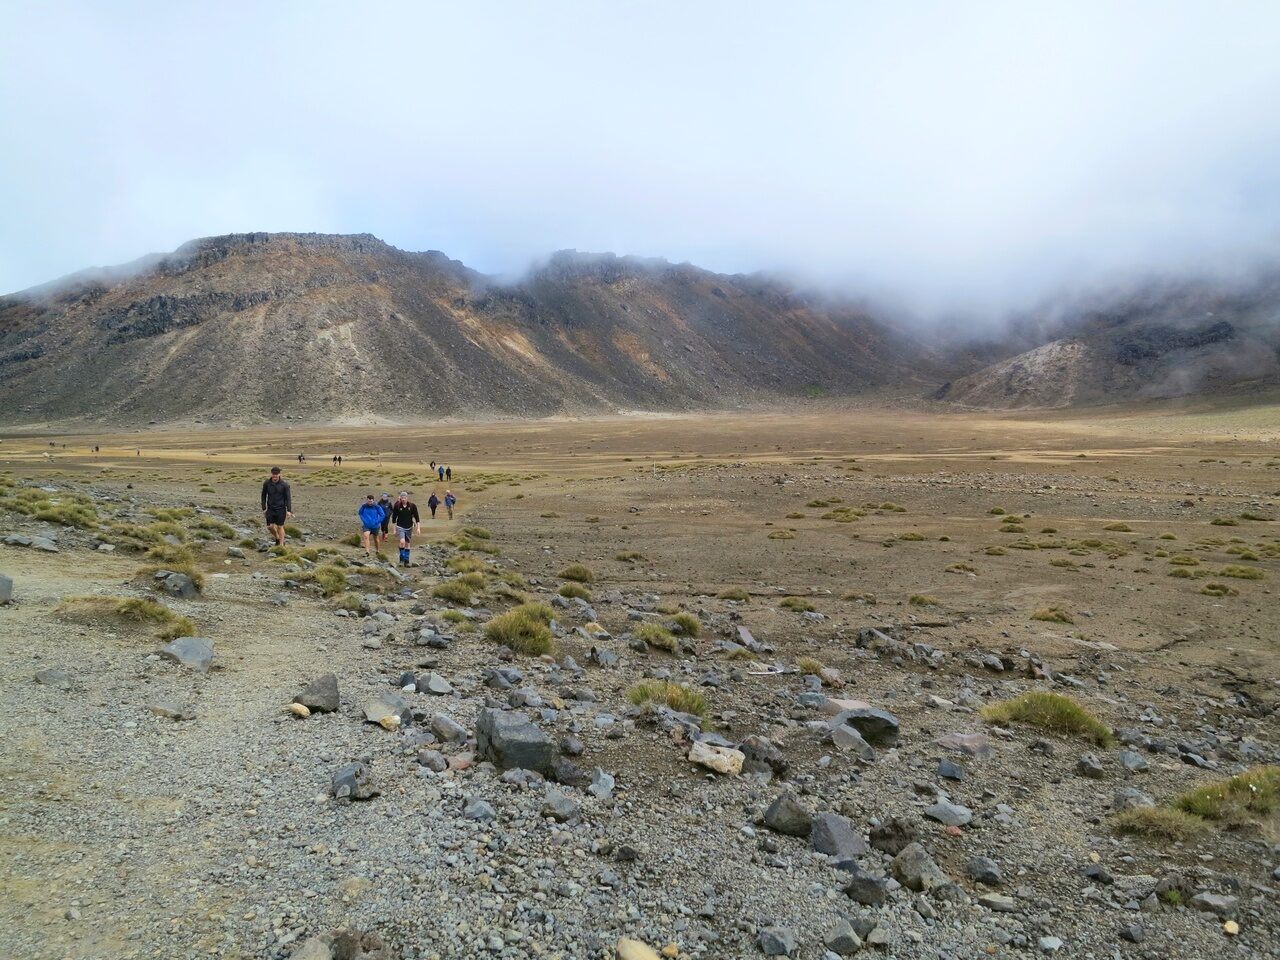
This is a fairly flat and easy track that allows us to enjoy the surrounding scenery leisurely. The boardwalk follows a stream and here you can see the edges of old lava flowing towards the valley head. There were mostly plains of rocks and sparse vegetation surrounding it. A good walk to warm up your cold body before the tough parts come.
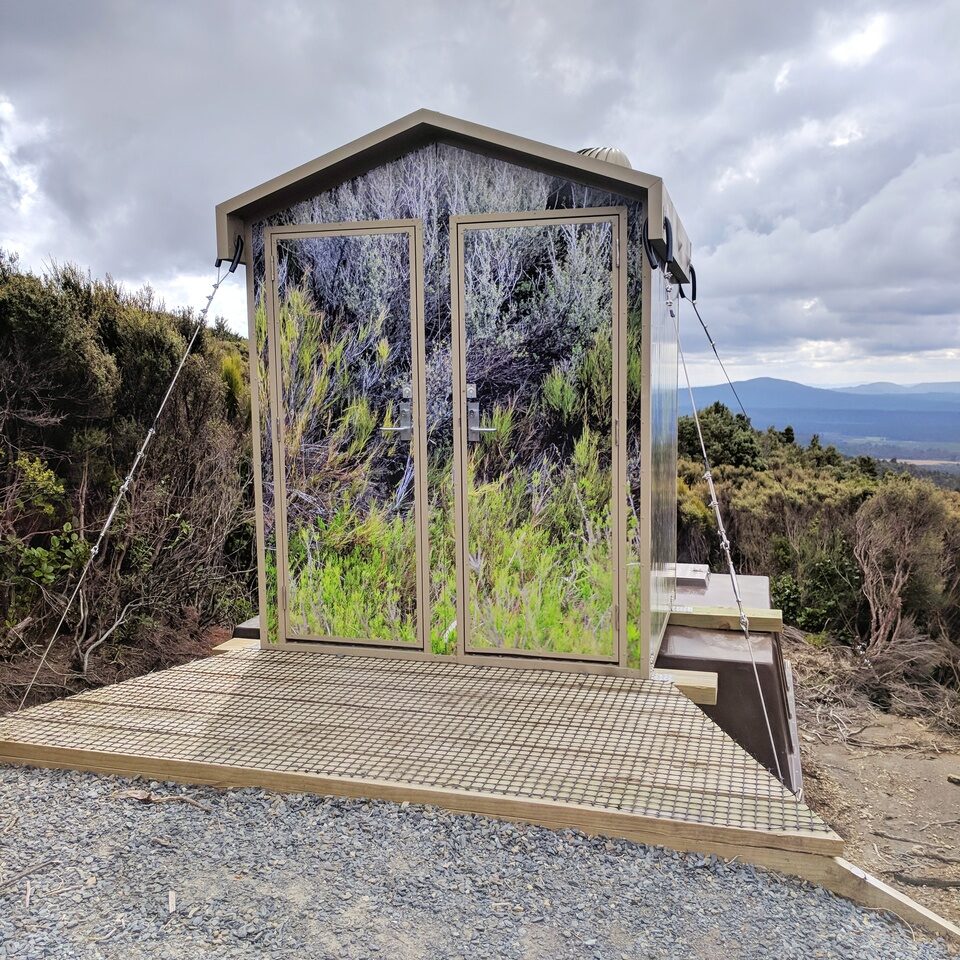

Tip: It is a good time to use the toilet here because of the number of toilets around. I don’t remember seeing a lot of toilets the further in we went, so good to use it early to avoid the long queues. Also, take note that there’s no toilet paper in the toilet, so do remember to bring your own!
2. Soda Springs to South Crater
Difficulty Level: Difficult
Time needed: 40 minutes to 1 hour
Distance: ~ 1.5 km
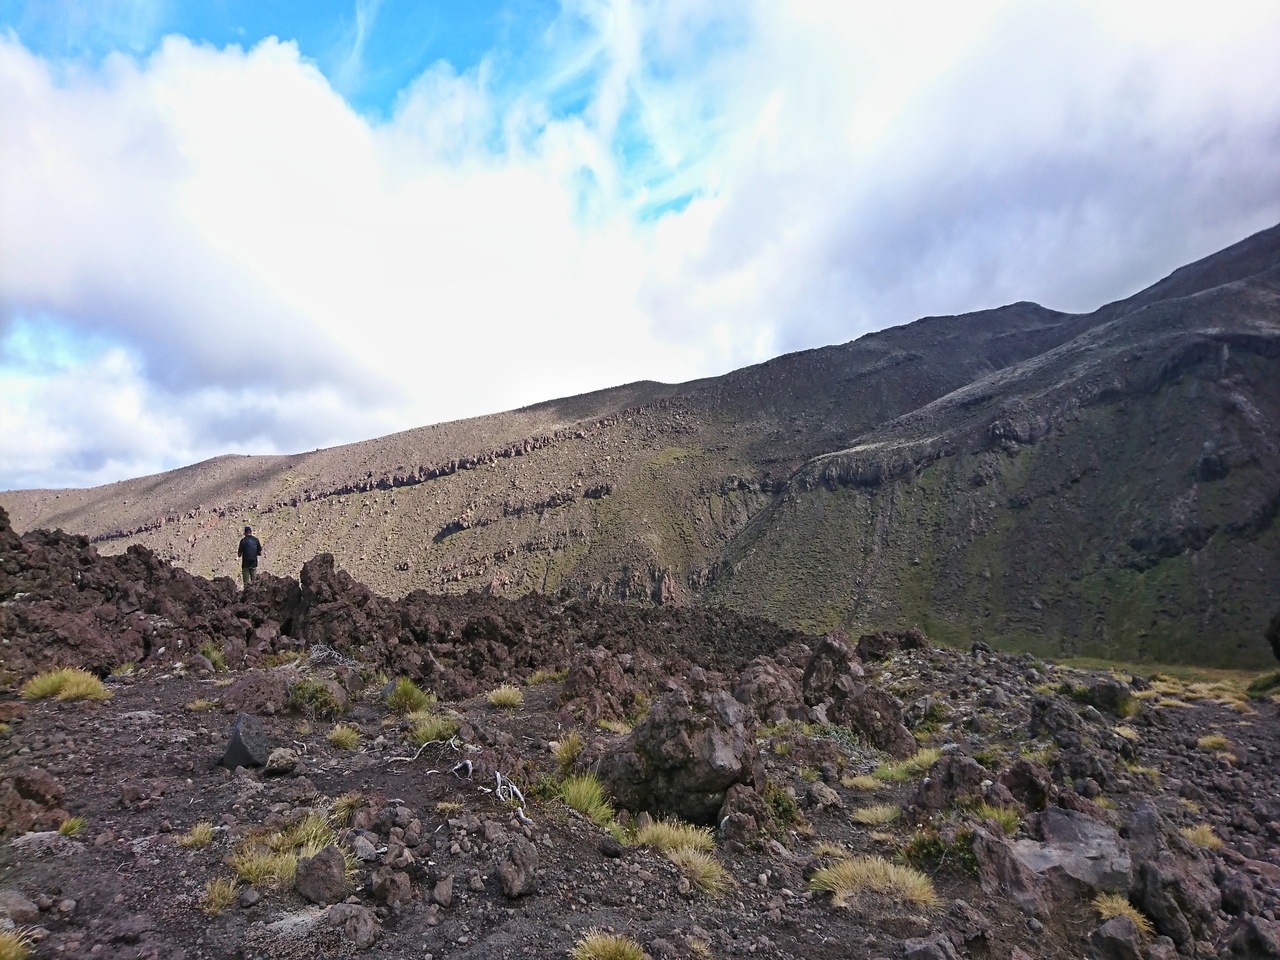
The trail becomes steeper at this part. We have already arrived at the first active volcano of the track, Mount Ngauruhoe. The track leads across the valley to Mangatepopo Saddle that leads towards the next active volcano, Mount Tongariro. It was an exponential increase in the difficulty level, especially when we were at least 1,500m above sea level. Our breaths got shorter and faster with each step we took, but what we saw next just made all that effort worth.
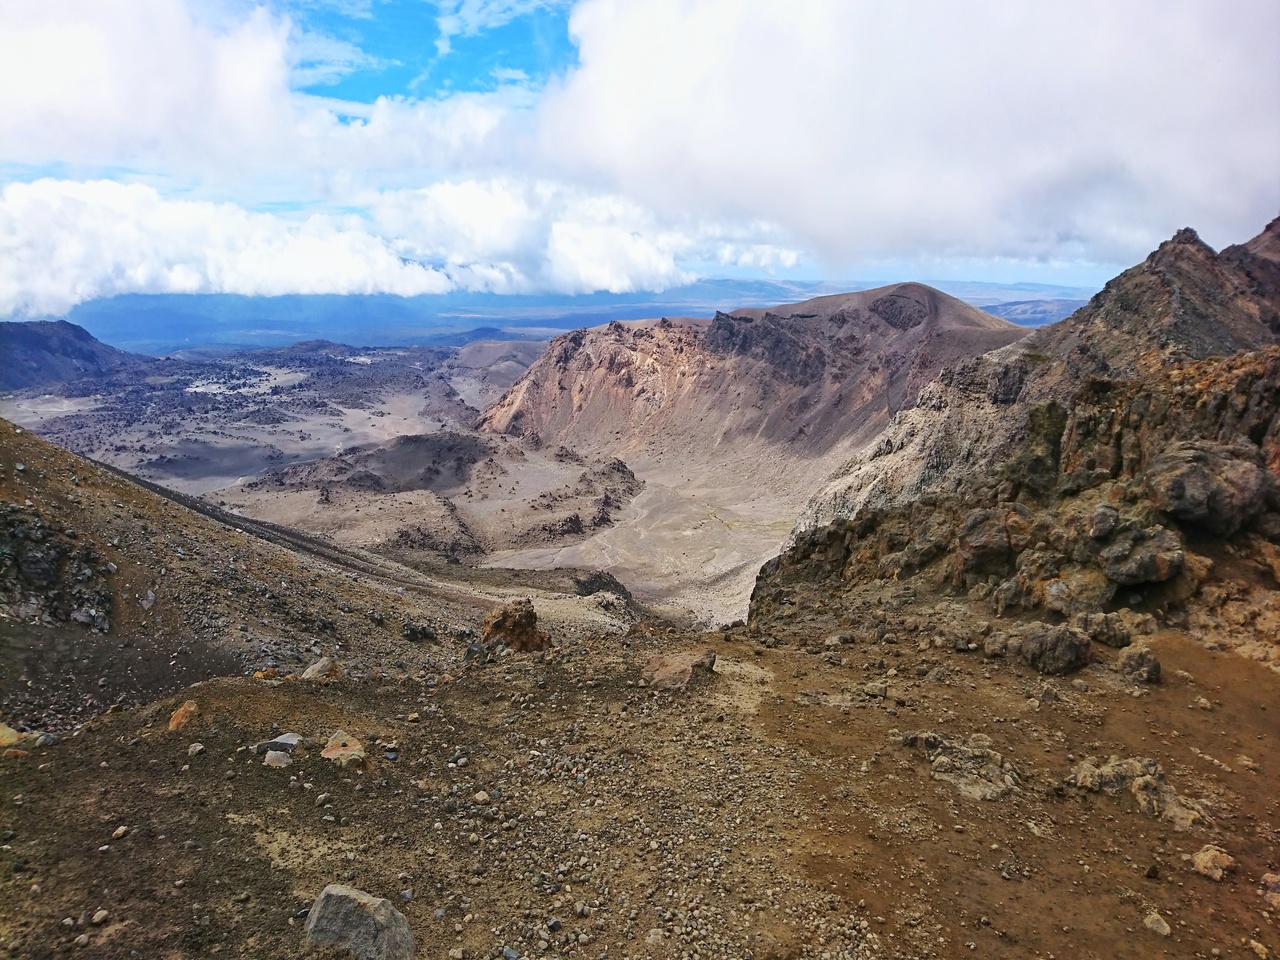
We were welcomed with a stunning panoramic view of the South Crater. The surrounding volcanic terrain was so magnificent that it feels almost surreal that I’m so close to an active volcano. If you’re lucky and arrive on a clear day, you might even be able to see Mount Taranaki, one I call the Mount Fuji of New Zealand!
3. South Crater to Red Crater
Difficulty Level: Difficult
Time needed: 1 to 1.5 hours
Distance: ~ 2.5 km


The red crater is the highest point of the Tongariro Alpine Crossing, at 1,868m above sea level. The deep red and brown walls are caused by extreme heat sintering and oxidising of the iron in the rocks. Seeing it with my naked eye felt like I was standing in Mordor from Lord of the Ring. I would have stood there longer if not for the cold winds that were blowing so strongly at me then.
Chains…on a rock?

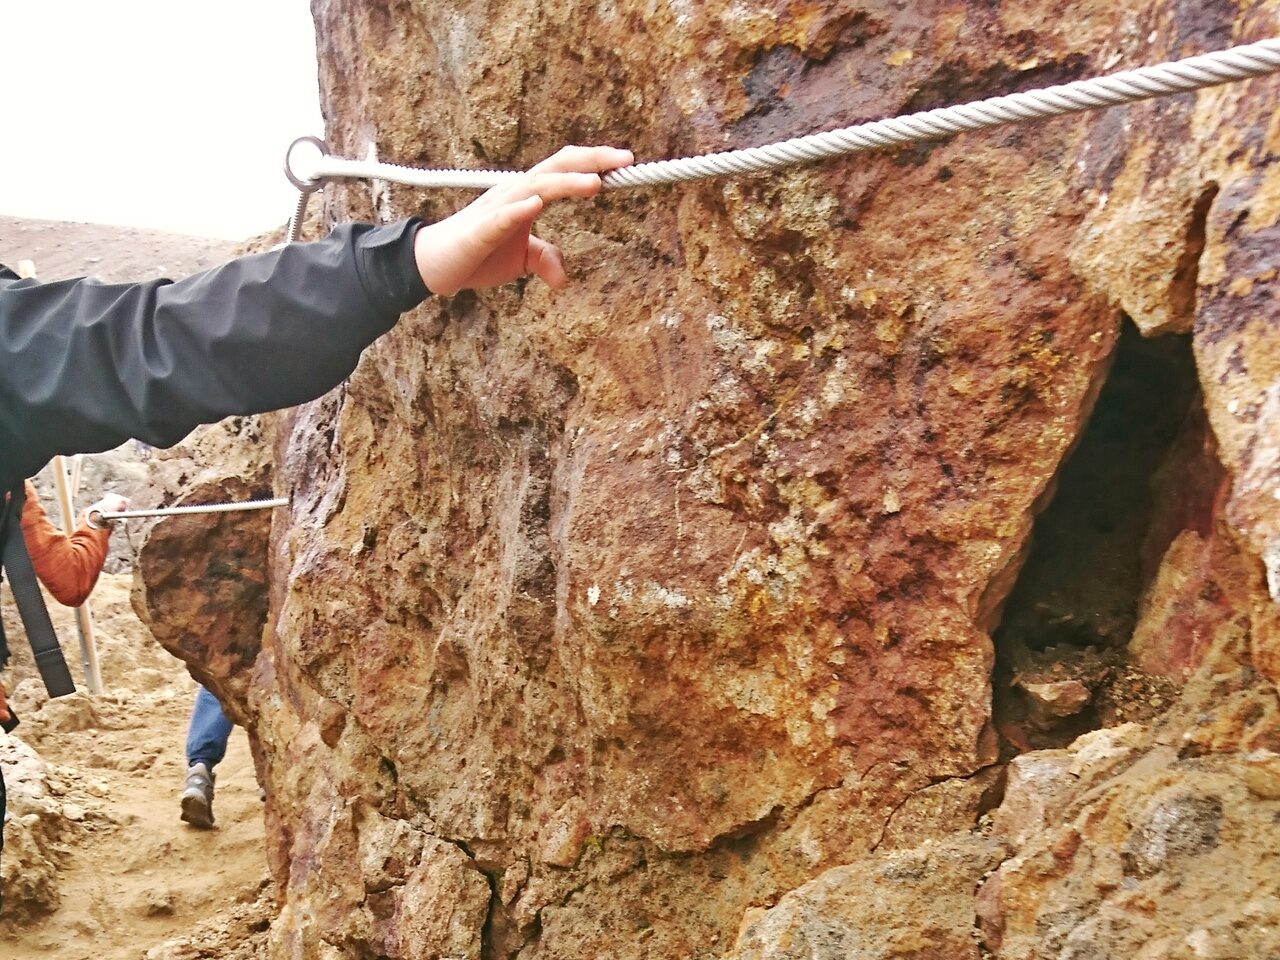
There was a section here where we had to climb upwards and sideways while holding onto a chain. This chain was connected to the face of a huge rock and we had to go through this to get up on the ridge. It may look intimidating at first glance, but it’s actually fine! Just make sure you bring gloves if you’re afraid that the chains might hurt your hands, especially when the cold weather makes your skin drier and easier to be hurt from any tugging or pulling.
4. Red Crater to Blue Lake
Difficulty Level: Moderate
Time needed: 30 minutes to 1 hour
Distance: ~ 2km
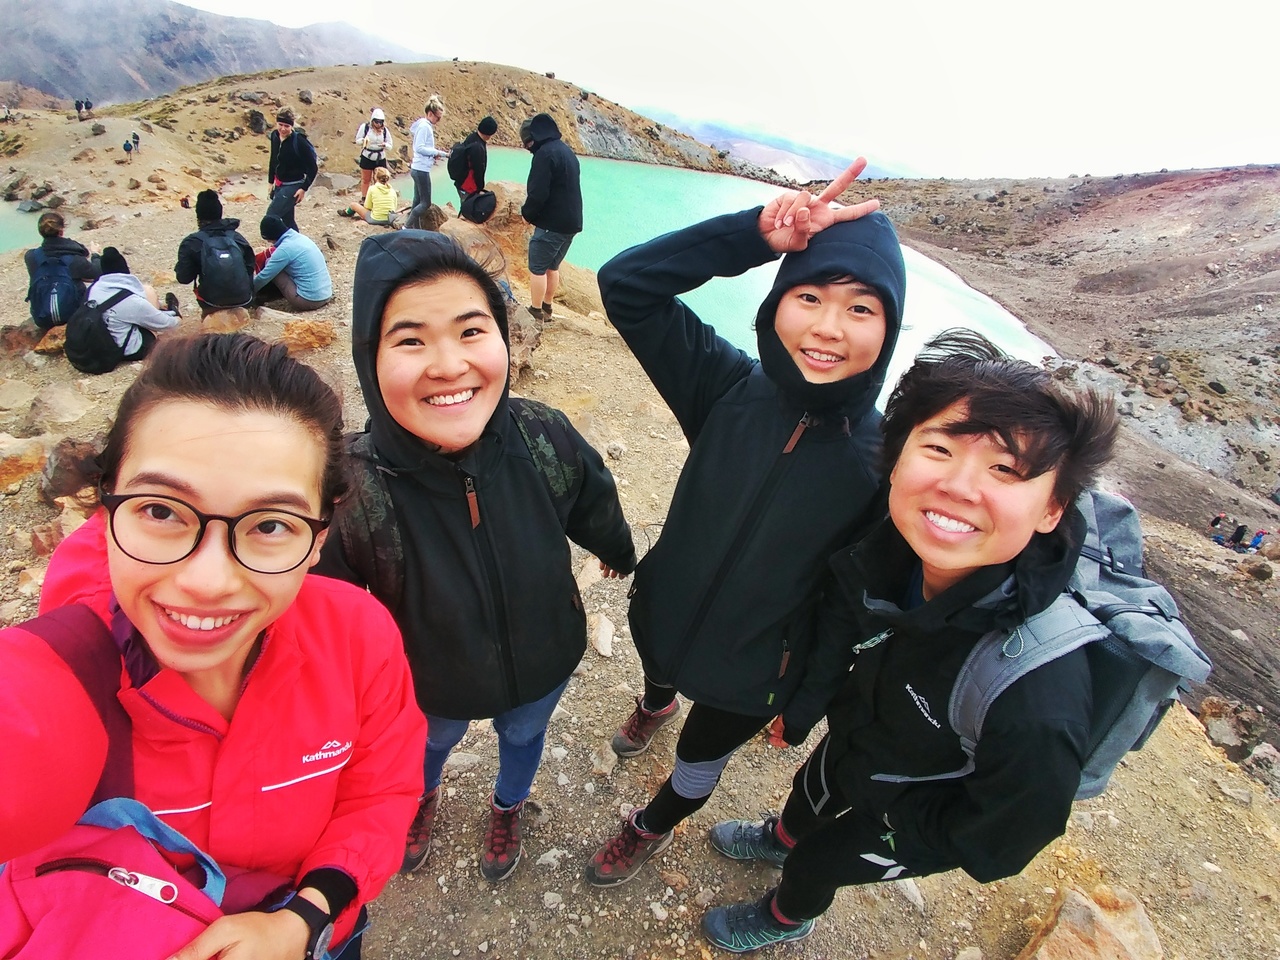
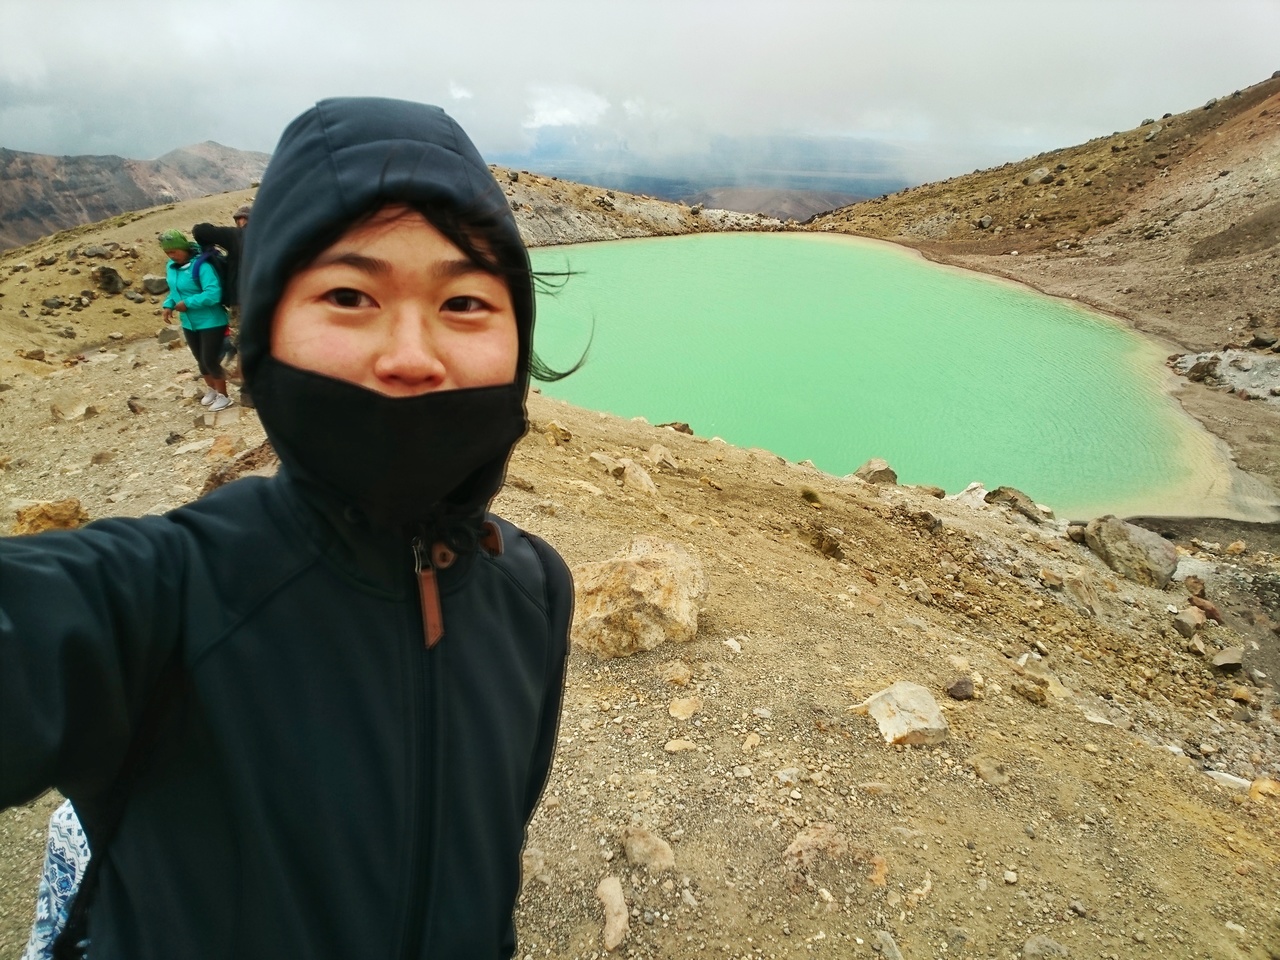

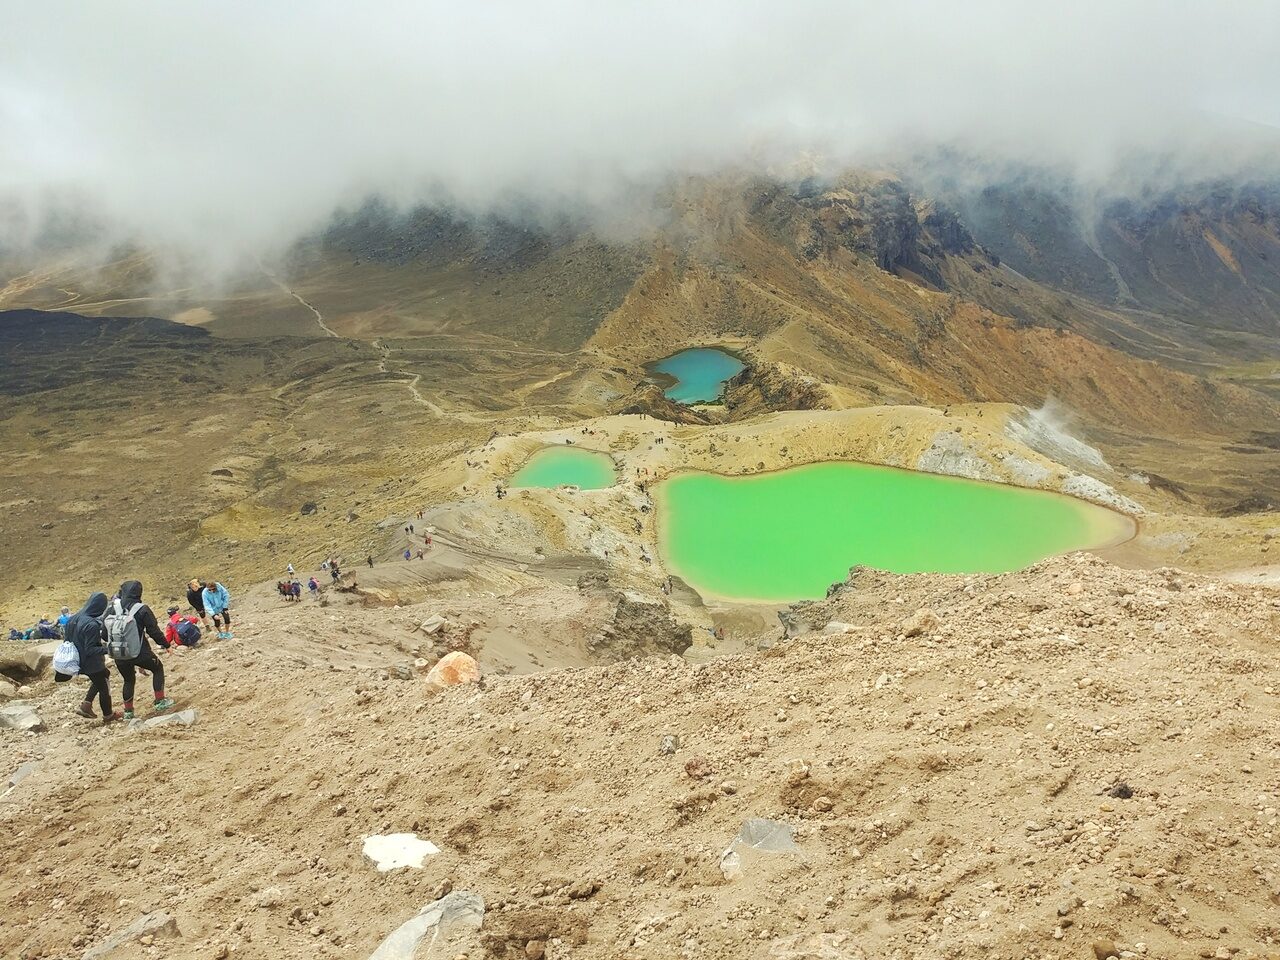
The blue lake was the highlight of the track, as that brilliant blue colour stood out from the surroundings. I realised later that the blue colour was caused by minerals leaching from the surrounding rocks and the thermal environment. There was also a slight sulphuric smell but I remembered it to be bearable, not as crazy as those at Mount Ijen, Surabaya.
Sliding down an unforgettable track
Although the blue lake was beautiful, the track before that actually made a greater impression on me as it held one of my greatest memories of the entire track. It was a short yet sharp descend from the Red Crater to the Blue Lake. This part of the track was made up of really loose soil and volcanic ash. I was sinking into the ground with every step, otherwise, sliding down a step further each time because there was no grip in my footing. My friends were also literally grabbing at every stone or just giving up and sliding down the loose soil on their butts.

Just as we were doing that, some guy just zoomed past us. What just happened???
I stopped in my tracks to see how he’s going at that crazy speed downwards while I was progressing at just one-third his speed. To my surprise, he was not using any particular hiking equipment or whatsoever, and was even in sandals. He took huge strides with a relaxed expression and arrived at the bottom of the descent in no time. I couldn’t help but stare in awe before I realised where I was and continued down at my own pace again.
*Gentle note to everyone while on the Tongariro Alpine Crossing*
Never compare yourself with the many other groups of people who are around you. With that, I mean it in terms of speed generally. As the tracks are really narrow, it is common to always meet with hikers trying to pass through. Don’t feel stressed out because of this, rather, just step aside and let them pass.
Remember to keep going at your own comfortable pace and never force yourself to go at a speed that is unsustainable just to keep up with others. Hikers there range from experienced hikers to novice hikers, and their fitness levels are all different too. Hence, keep that in mind and just go at a pace you like!
5. Blue Lake to Ketetahi Shelter
Difficulty Level: Moderate
Time needed: 3 to 3.5 hours
Distance: ~ 9 km
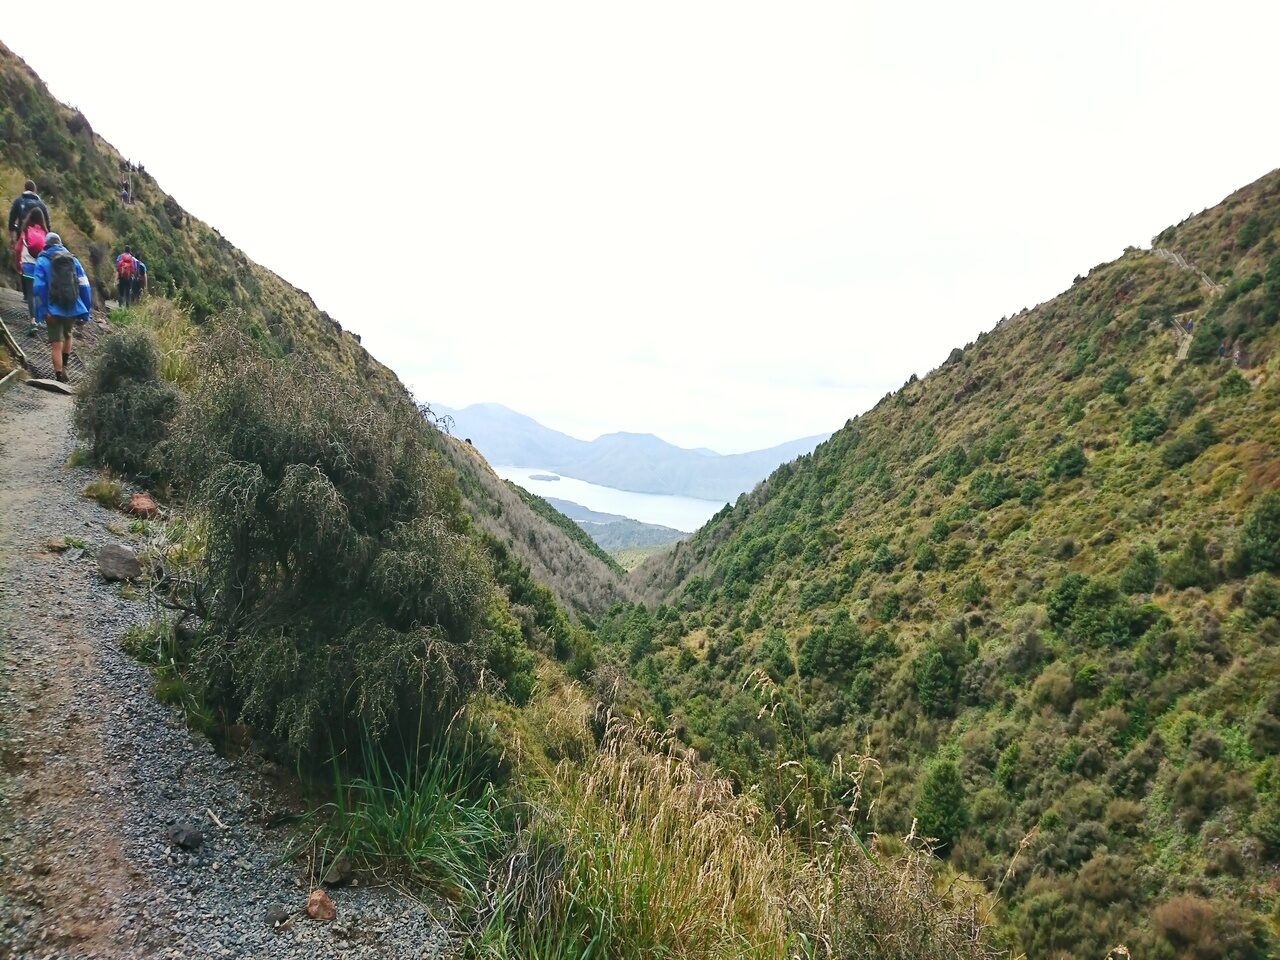
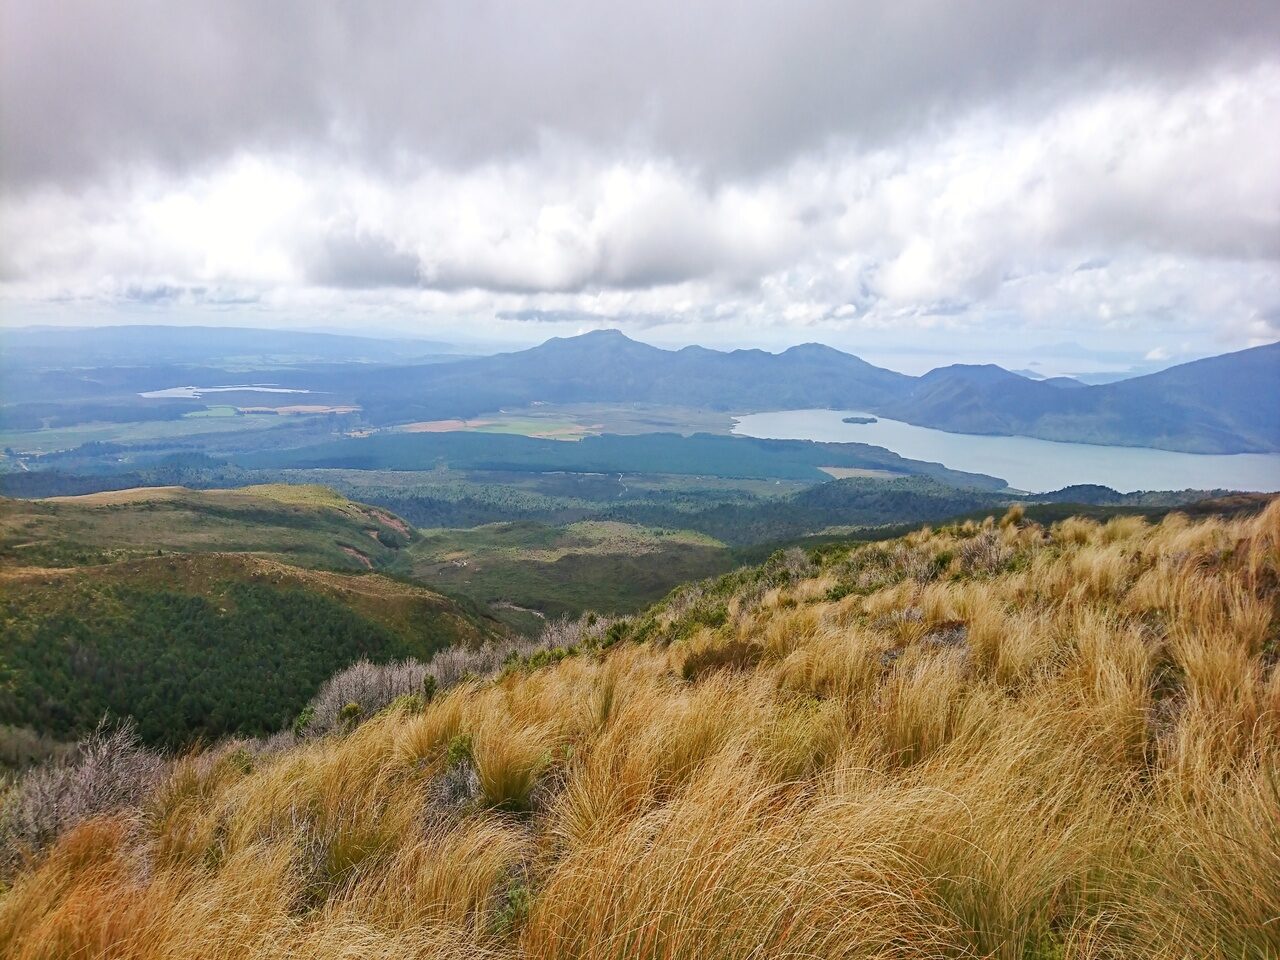
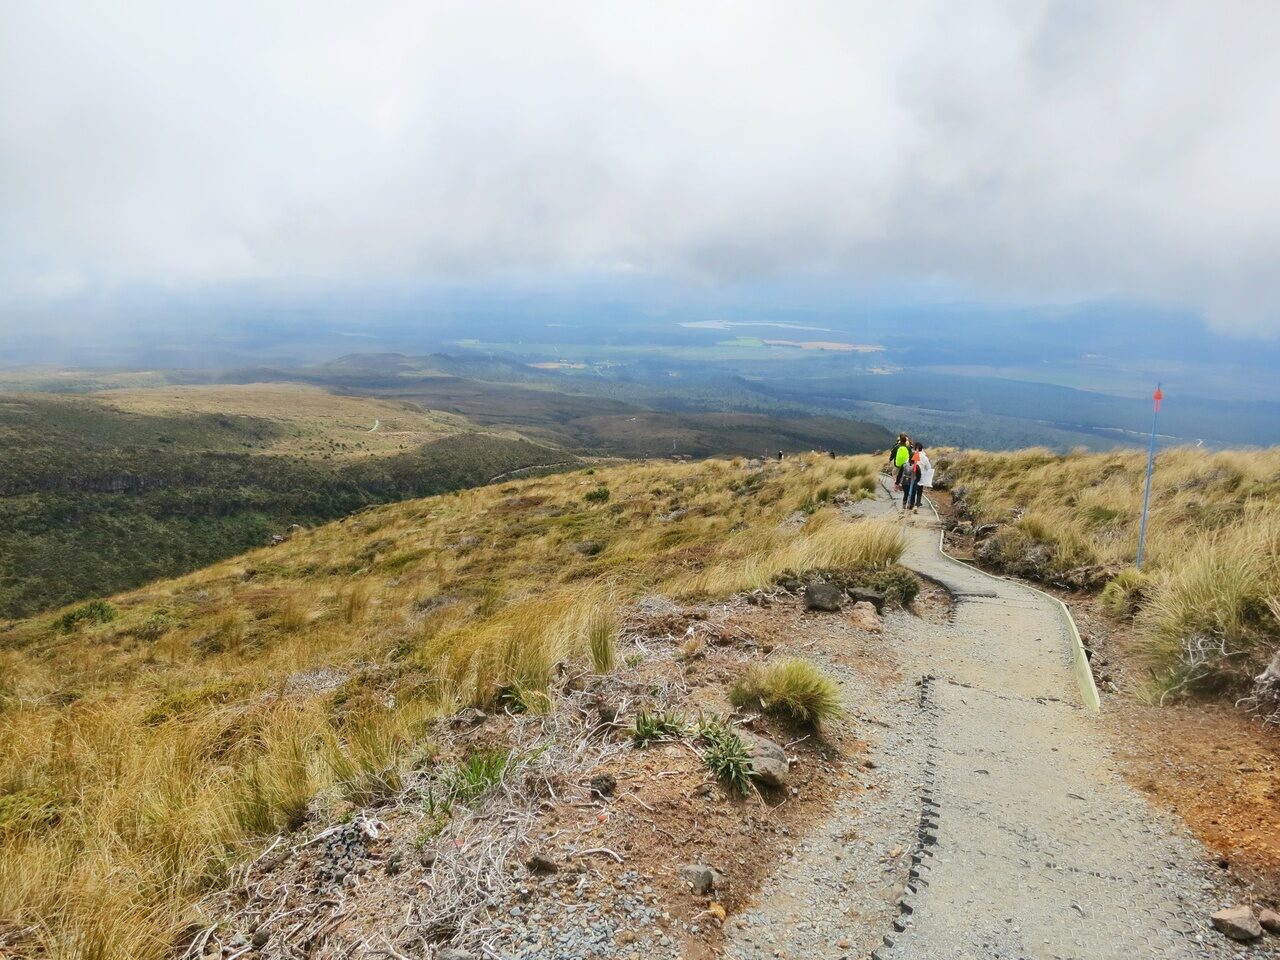
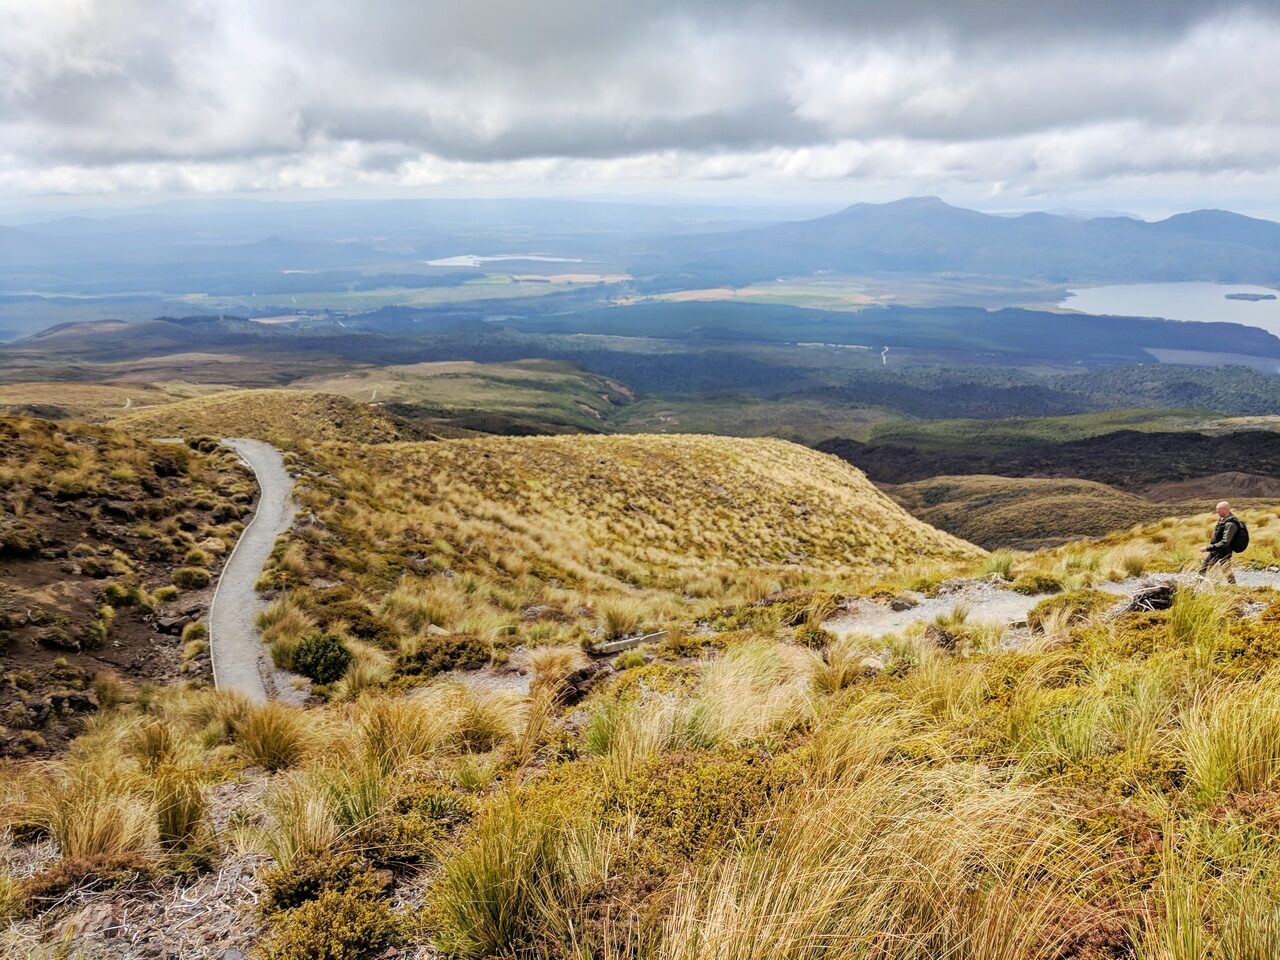
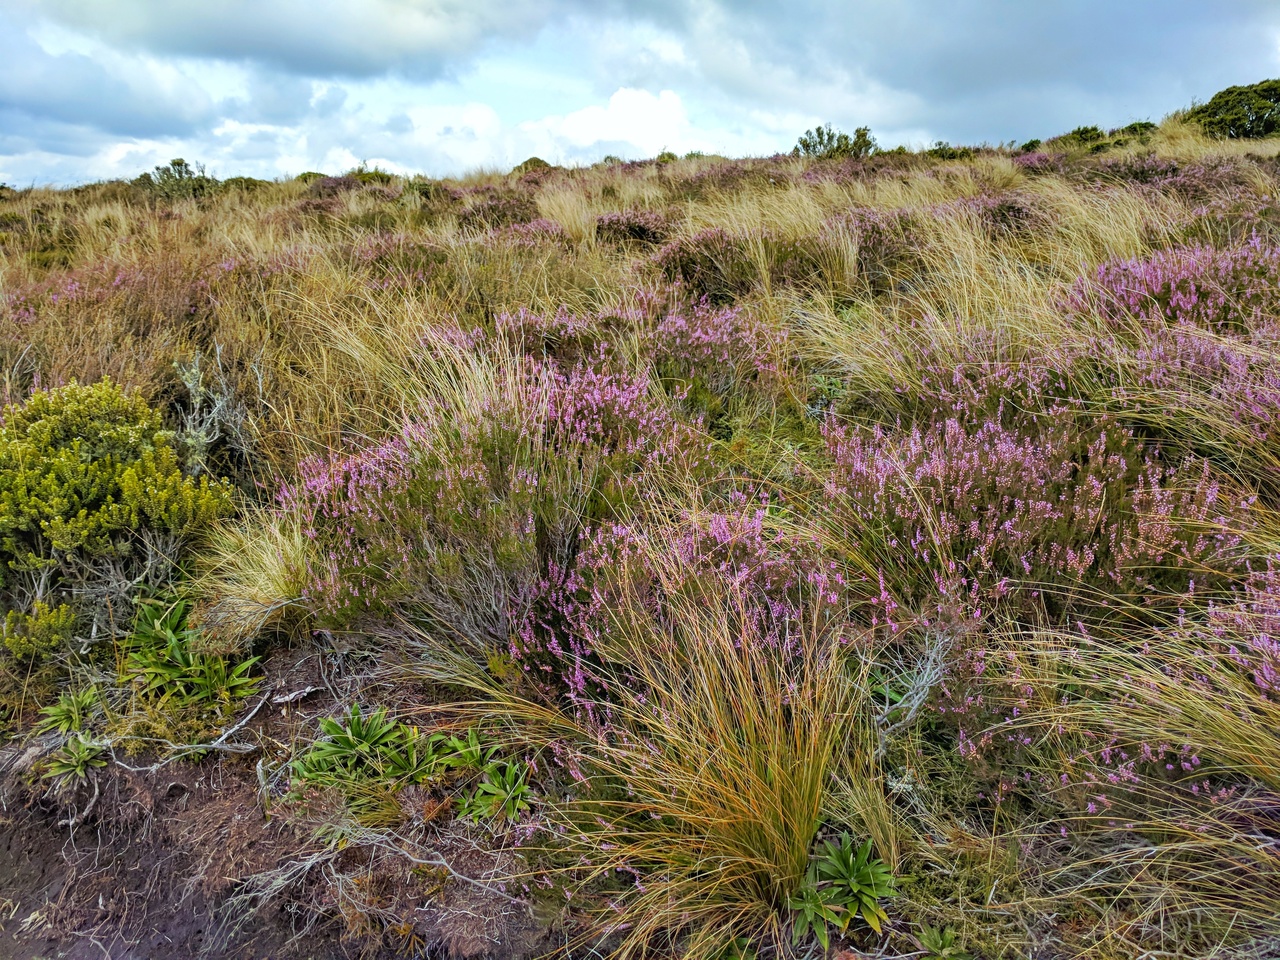
Finally, after about 5 hours, we’re at the last part of the track! Now that the hard part is all over, what awaits is a gradual descent from 1,750m above sea level to 750m. The track here is really pretty as you get to see some last lingering views of the volcano terrains, before getting to lush alpines.
The last part is a cool green covered forest marking a great end to the volcanic landscape. The atmosphere here is much lighter and fresher, and a good way to cool down after the difficult morning. I remember my knees were wobbling ever so slightly because of the continuous descend for three hours. So do remember to take sufficient breaks or go slower if you need to, just so you can still drive yourself back after the hike like I did.
Final notes!
Make sure to be fully prepared for your track so you’re ready to take on what comes at you for the next 6 to 8 hours. Do your own research so you know what to expect for that period that you’re intending to visit Tongariro in as it’s really different for both summer and winter. Also, remember to look out for daily notices from the Department of Conservation to be updated on any alerts closer to your hike date. I’ll be putting together another post on the pre-hike preparation I did for this hike too, so stay tuned! With that, hope you enjoyed my post!