Hiking the Avalanche Peak at Arthur’s Pass, New Zealand has got to be one of my most memorable hikes ever. The hike was difficult yet fulfilling, and dangerous yet worth the effort. I’m sure you will feel the same too, so read on about my experience and see if you’d like to embark on one of your own as well!
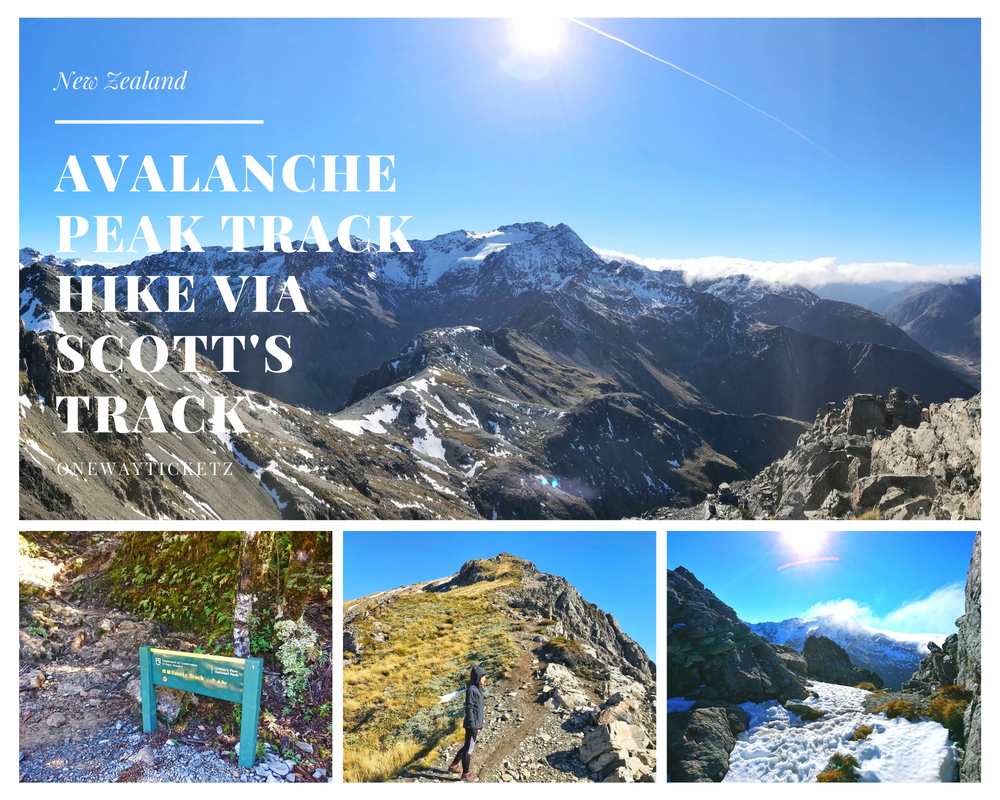
About the Avalanche Peak Track
The Avalanche Peak Track is a poled route track at Arthur’s Pass in the South Island of New Zealand. As its name says, this involves hiking on a post-avalanche track and is a continuous steep track all the way from the base to the peak. It is a 1.1km vertical climb from the village, over just 2.5km horizontally. Just imagine how steep that is when you plot it out on a graph. This is not an easy track but if you’re ready to challenge yourself, then read on to prepare yourself for it! You will be rewarded with grand views of the surrounding peaks plus panoramic views of the Southern Alps at the peak.
My experience hiking the Avalanche Peak
Hiking on the avalanche was really a nerve-wracking experience. Because of the nature of the tracks, it was a continuously steep track with loose soil and rocks. There are two options you can take to hike up to the peak:
- A round trip from Avalanche Peak Track through to Scott’s Track/Route, or
- A one-way trip up and down Scott’s Track/Route.
I took the second option which took me about six hours to complete. It is also not as steep as the Avalanche Peak Track so a safer option if you want to be more confident in completing the track within six hours! It was quite a steady 3 hours up and down the same track for me. Just a note to be really mindful of your steps and don’t rush to complete it.
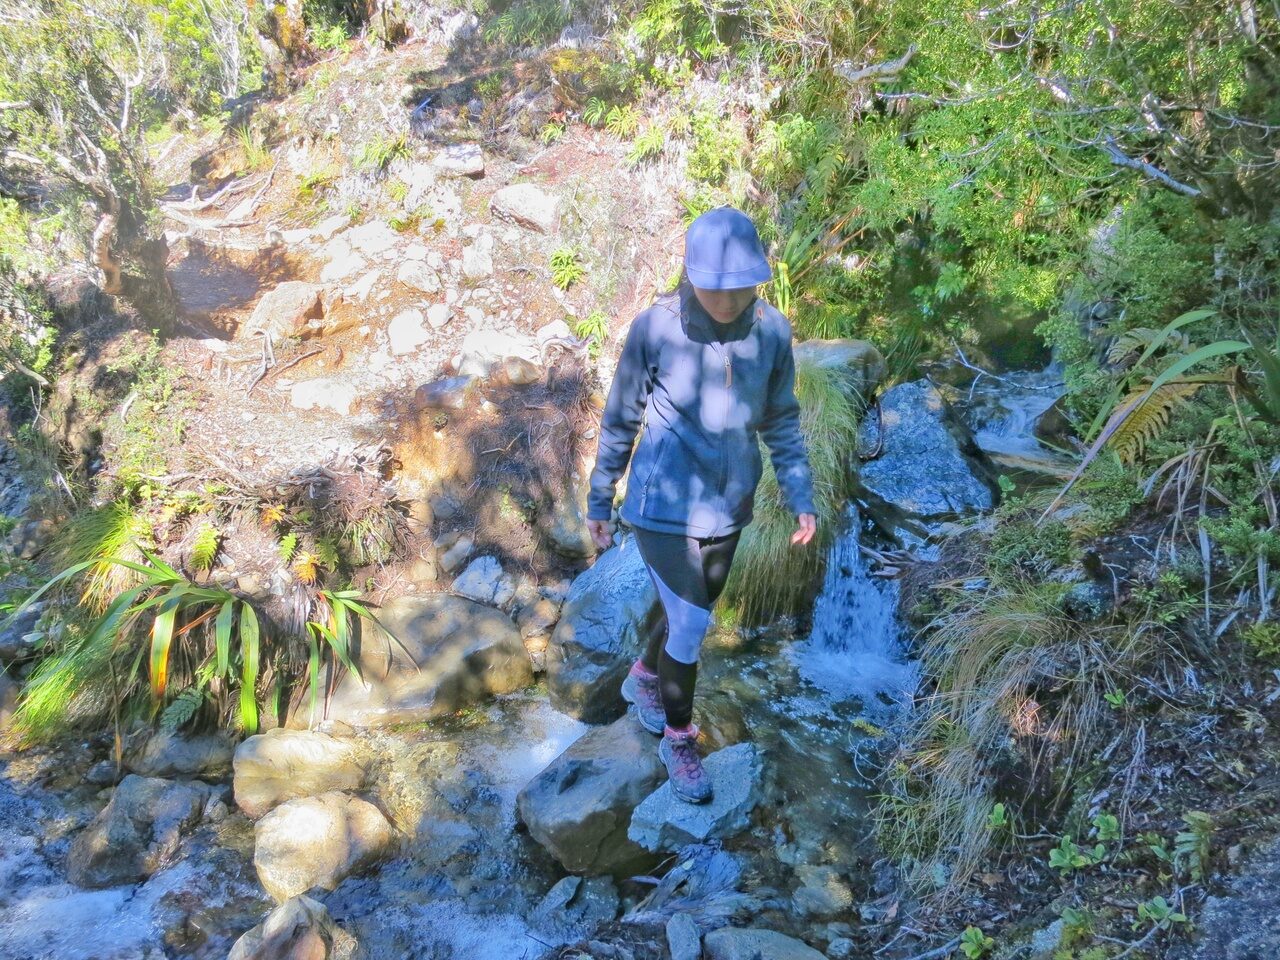
1. Beginning the hike
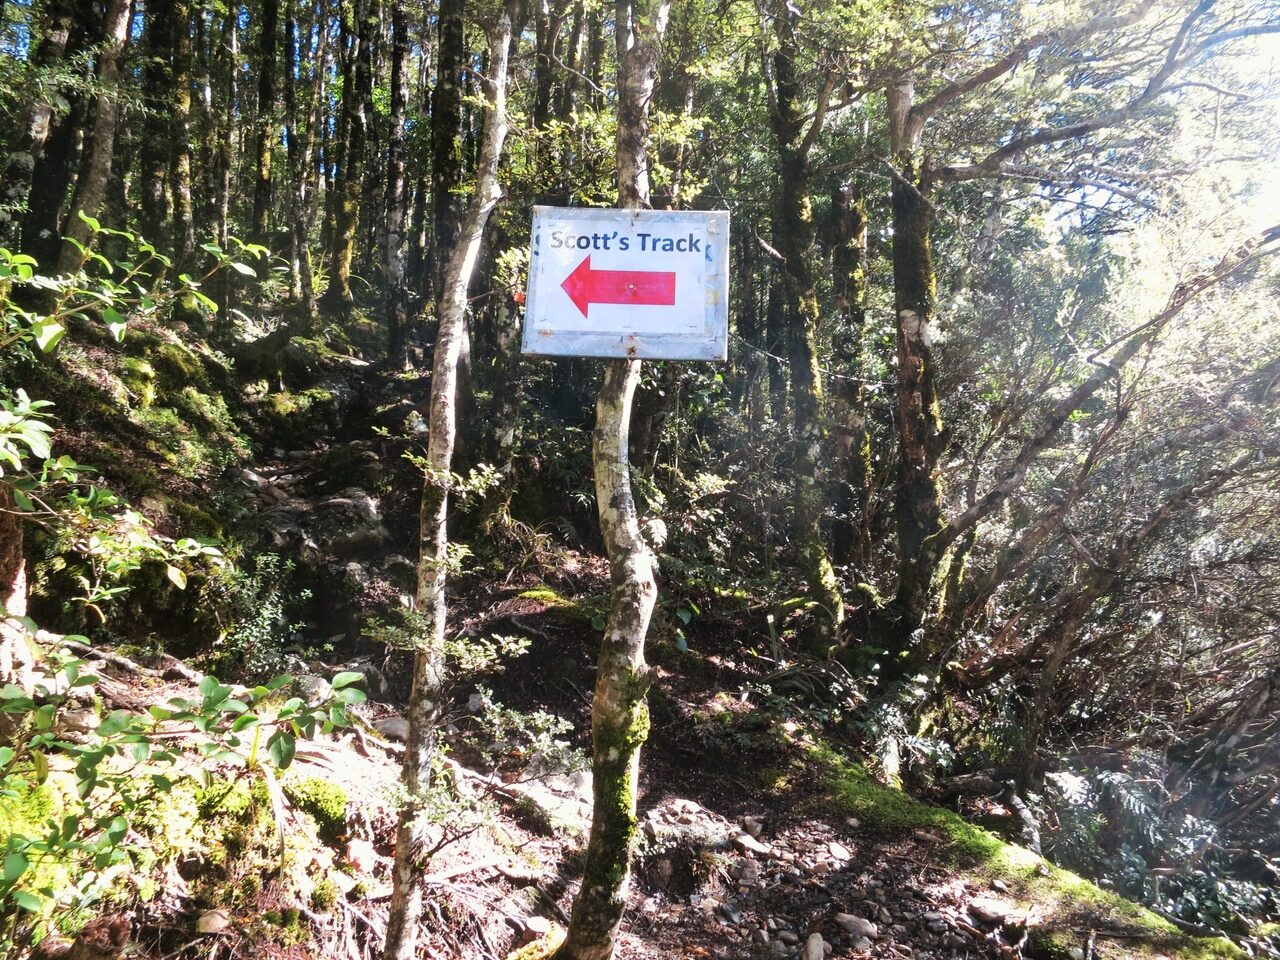
I parked my car at the base of Scott’s Track and we started off from this little forest just at the corner of the car park. We had to search around a bit to find this entrance as it wasn’t very obviously located. However, just note to find a little forest near the road and that should be the entrance you’re looking for.
The track in this forest was probably shorter than 30m and we emerged out onto the roadside. Don’t be surprised here (though I was) and just cross the road when it is clear to get to the next part of the track. These are mostly made up of knee-high stone steps and be prepared for at least forty minutes on this track.
2. The continuous path of knee-high steps
Once you complete the stone steps, you will start going through a forested rocky pathway all the way to the bushline. Follow the obvious track and don’t forget to enjoy the great views that peep through from the occasional partings of the forest. Spot for views of the Arthur’s Pass, Mounts Cassidy and the Black Range here. Also, if you’ve yet to have lunch, this would be a good spot for lunch, or else, a water break and rest point under the shade.
Completing this forested track means you’re halfway done and conquered 780m of elevation already. Give yourself a pat on your back! On average, you should have spent about 1 hour 30 minutes here and emerge out into the open bushline.
3. The Middle Point at the bushline
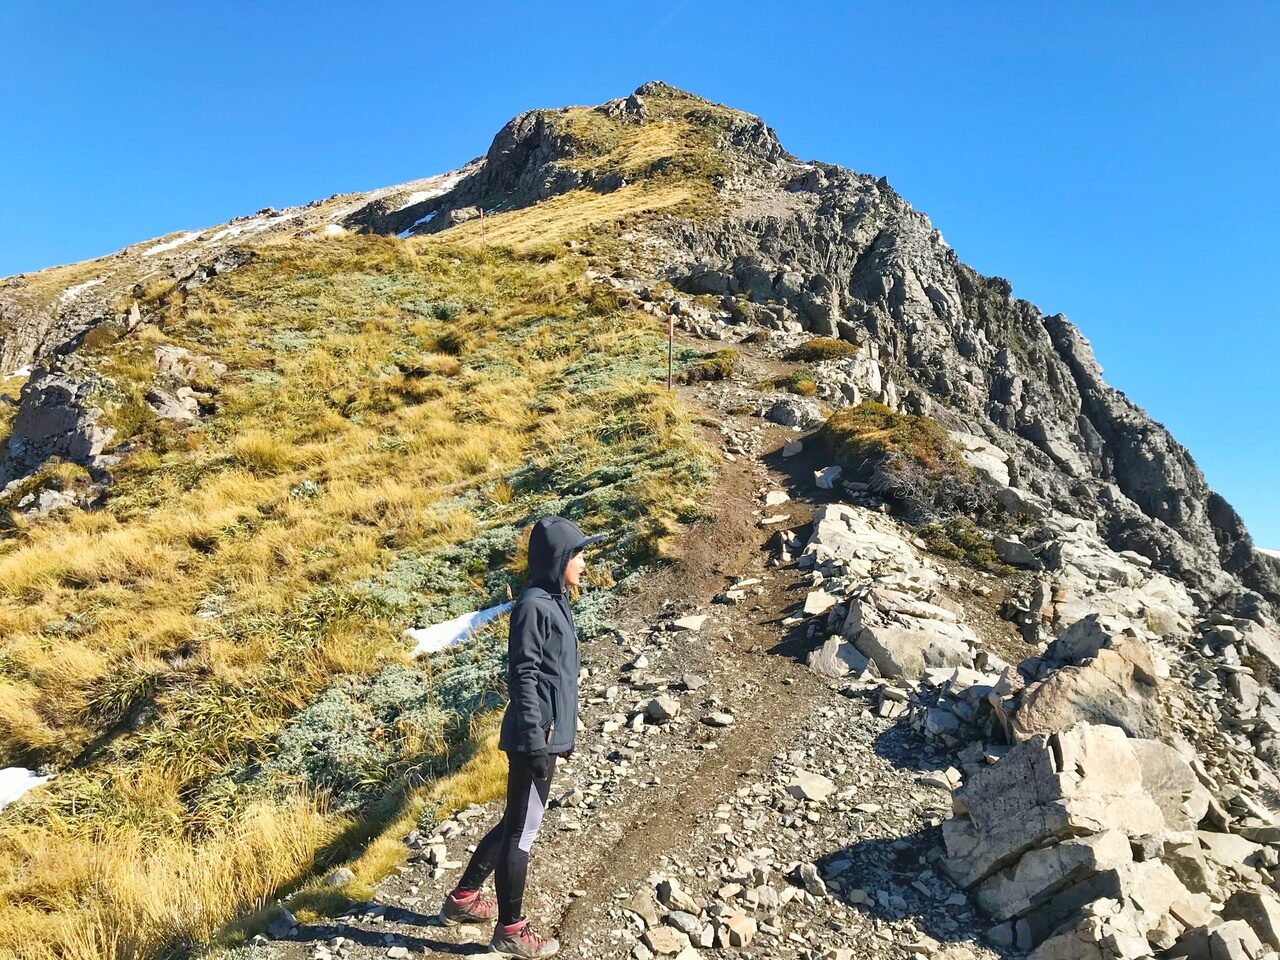
Seeing this green or yellow bushy grounds would mark your midway point. The path here is wide and open and welcomes a bit of the warm sun. Start looking out for orange poles that will mark the track you should take as it is now not as obvious as the bottom half. The journey here should take you another 1.5 hours to get to the summit.
Also, do take note as you ascend to keep a close watch on the time. Only go as far as your time and the conditions allow as the route will be pitch dark once the sun sets. Very importantly too, stay on the poled track as anything off it is steep and dangerous. I had jelly legs just peeping down the side of the track once because of how dangerous it can be.
4. Conquering the Peak of the Avalanche

Yes, this is how the track now looks as you get closer to the Summit. Huge rocks, large gaps and covered with snow. I did the track during April and although the weather was slightly cool, there was already snow at the summit of most mountains. Really watch your footing here and follow the orange poles strictly. The steps may not be obvious even with the poles but at least, it would mean that the surrounding rocks are actually stable enough for you to climb on. Use your hands for extra stability if you need to and grip the neighbouring rocks as you ascend.
This track goes on for another forty to fifty minutes before you finally see your goalpost – the Summit.
5. The Peak (W-O-W!)
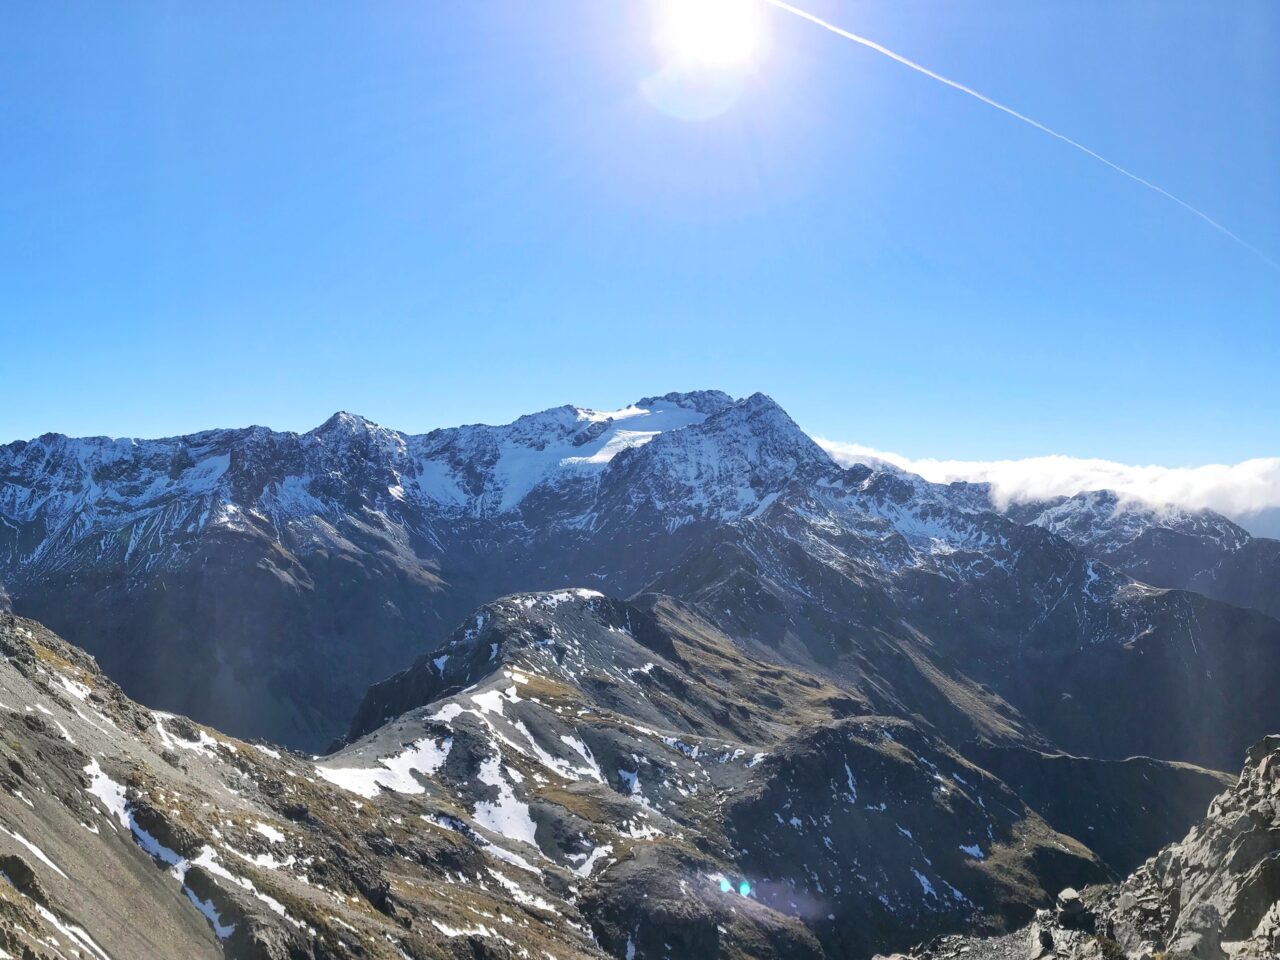
CONGRATULATIONS!!! You’re finally at the peak and just take a moment to take in the beautiful panoramic views of the Southern Alps here. After spending three hours hiking up here, you definitely have to make your time up here worth! Whip out your cameras and commemorate this moment 🙂
I wanted to also highlight this as I was at the summit – So to really reach the peak viewing spot, there is the last stretch of the track that is about twenty to thirty metres long. Looking at it, the track is marked at the highest part of the mountain and you’ll technically be stepping on a dangerously steep and narrow pathway. I just like to caution that if you do not feel confident passing through it or simply just do not want to take the risk trying, feel free to find a spot somewhere along the long flat peak and have a break. I found a quiet spot somewhere near and actually had my lunch there too, away from the crowd at the viewing spot! Then, when you’re fueled up again, start heading down back to the starting point.
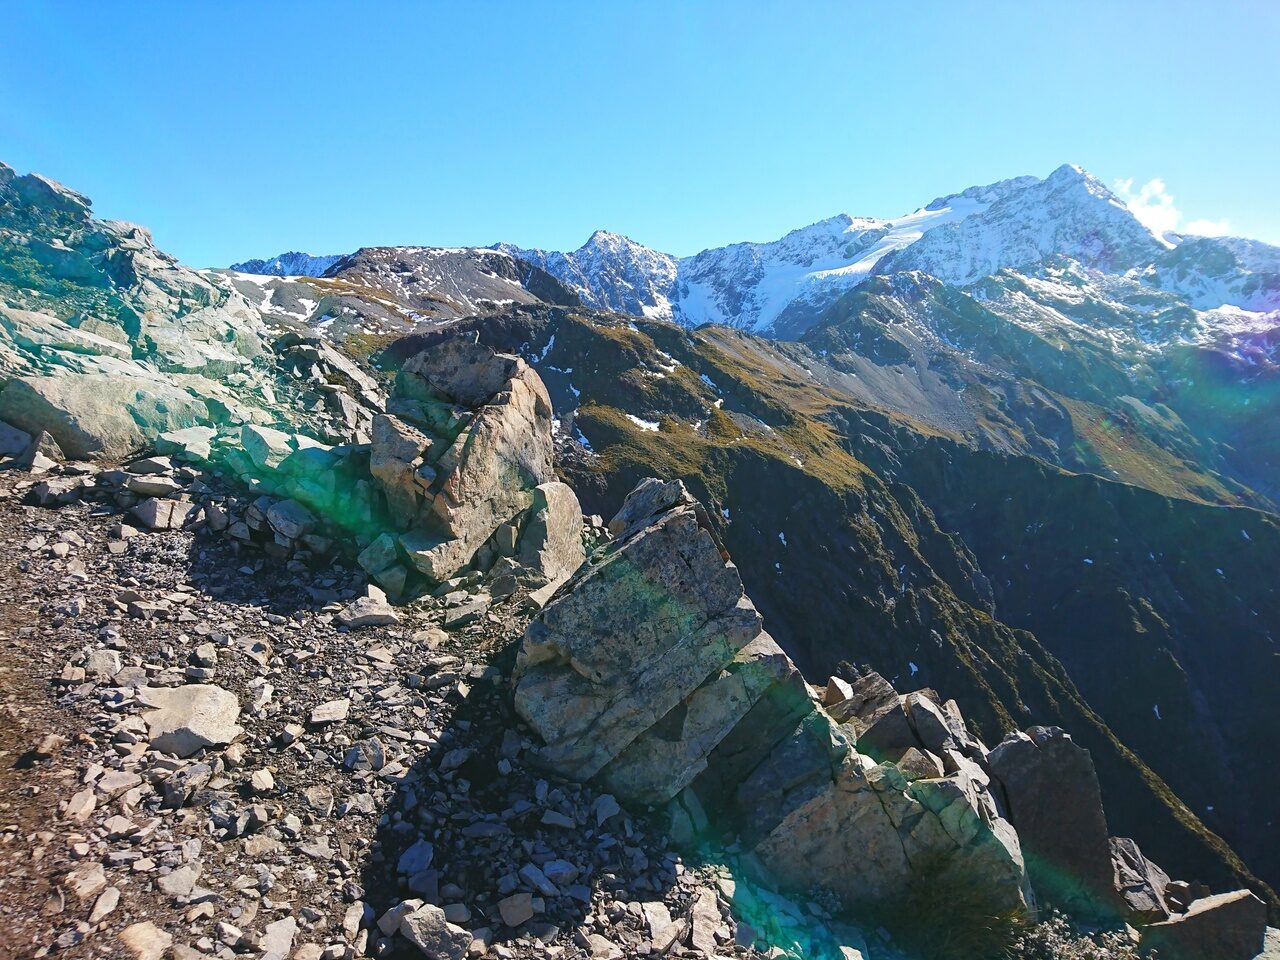
5. The Descend with a spectacular view
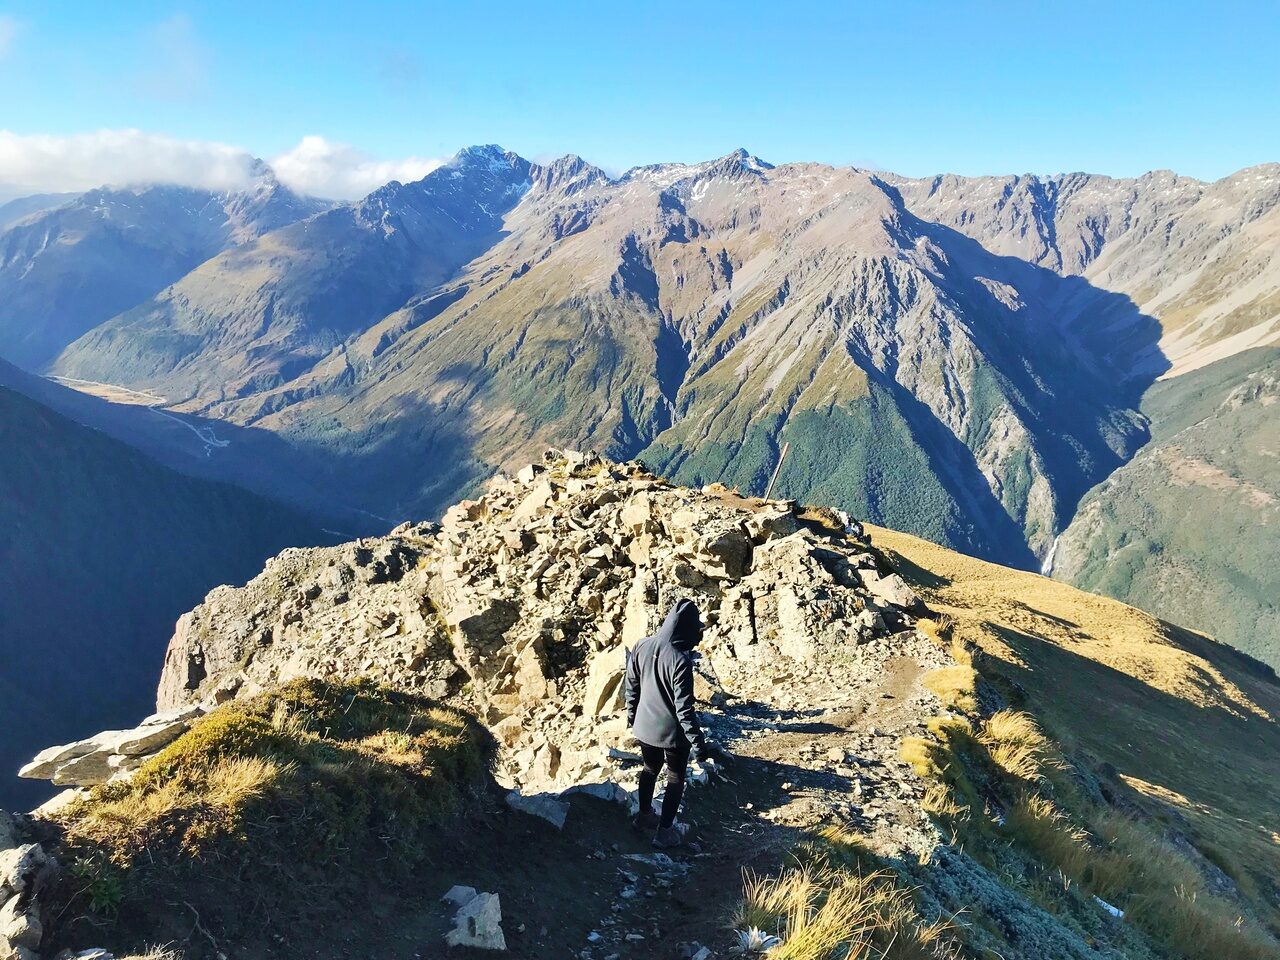
The descend is relatively the opposite of the ascend if you’re taking the same path downwards. The only thing different now is again the view. Just see that picture above. W-O-W. I did not notice this when I was ascending because I was so busy looking forward. However, when we turned back and started our descend, this view caught me off my feet! It’s so pretty and magnificent.
The moral of the story, remember to lift your head and have a look at your surroundings even as you descend as you never know what gem you’ll find!
What should I bring while hiking the Avalanche Peak?
The complete round trip takes about 6 to 8 hours, hence you have to be sure to bring sufficient food and water to sustain your journey throughout this full-day hike. I personally took approximately seven hours, including a lunch break at the peak. Here’s what I packed in my backpack up the hike:
- A sandwich lunch
- A pack of mix nuts and dried berries
- Snack bars (for that short burst of energy at times when I just feel too tired)
- 1 litre of water – there’s no place for a toilet break too so don’t bring too much too!
- Lightweight jacket – depending on the weather then, you might even want to bring a waterproof one and a thicker one to protect yourself from the wind and cold.
Best Time to hike the Avalanche Peak Track

I personally think it is safest to hike the Avalanche Peak anytime between spring and early autumn. On top of the comfortable weather then, the scenery then is also very well worth the effort on this steep hike.
I completed this track near autumn too and the peak was already snow-capped. The last 100 meters towards the endpoint on the peak was fully covered in snow then! If you recall, I did not proceed further on this last bit of the track also because I felt unconfident to hike on the loose snow. Hence, I also would not recommend doing this during winter too unless you are an experienced hiker! Make sure you gear yourself up with the necessary equipment too if you really plan to do this during winter.
If you’re looking for other tracks to conquer in New Zealand, do also check out my Top 10 favorite tracks in New Zealand too!